Taking a screenshot on a laptop can vary slightly depending on your operating system.
Easy steps to take screenshot in laptop on Windows OS
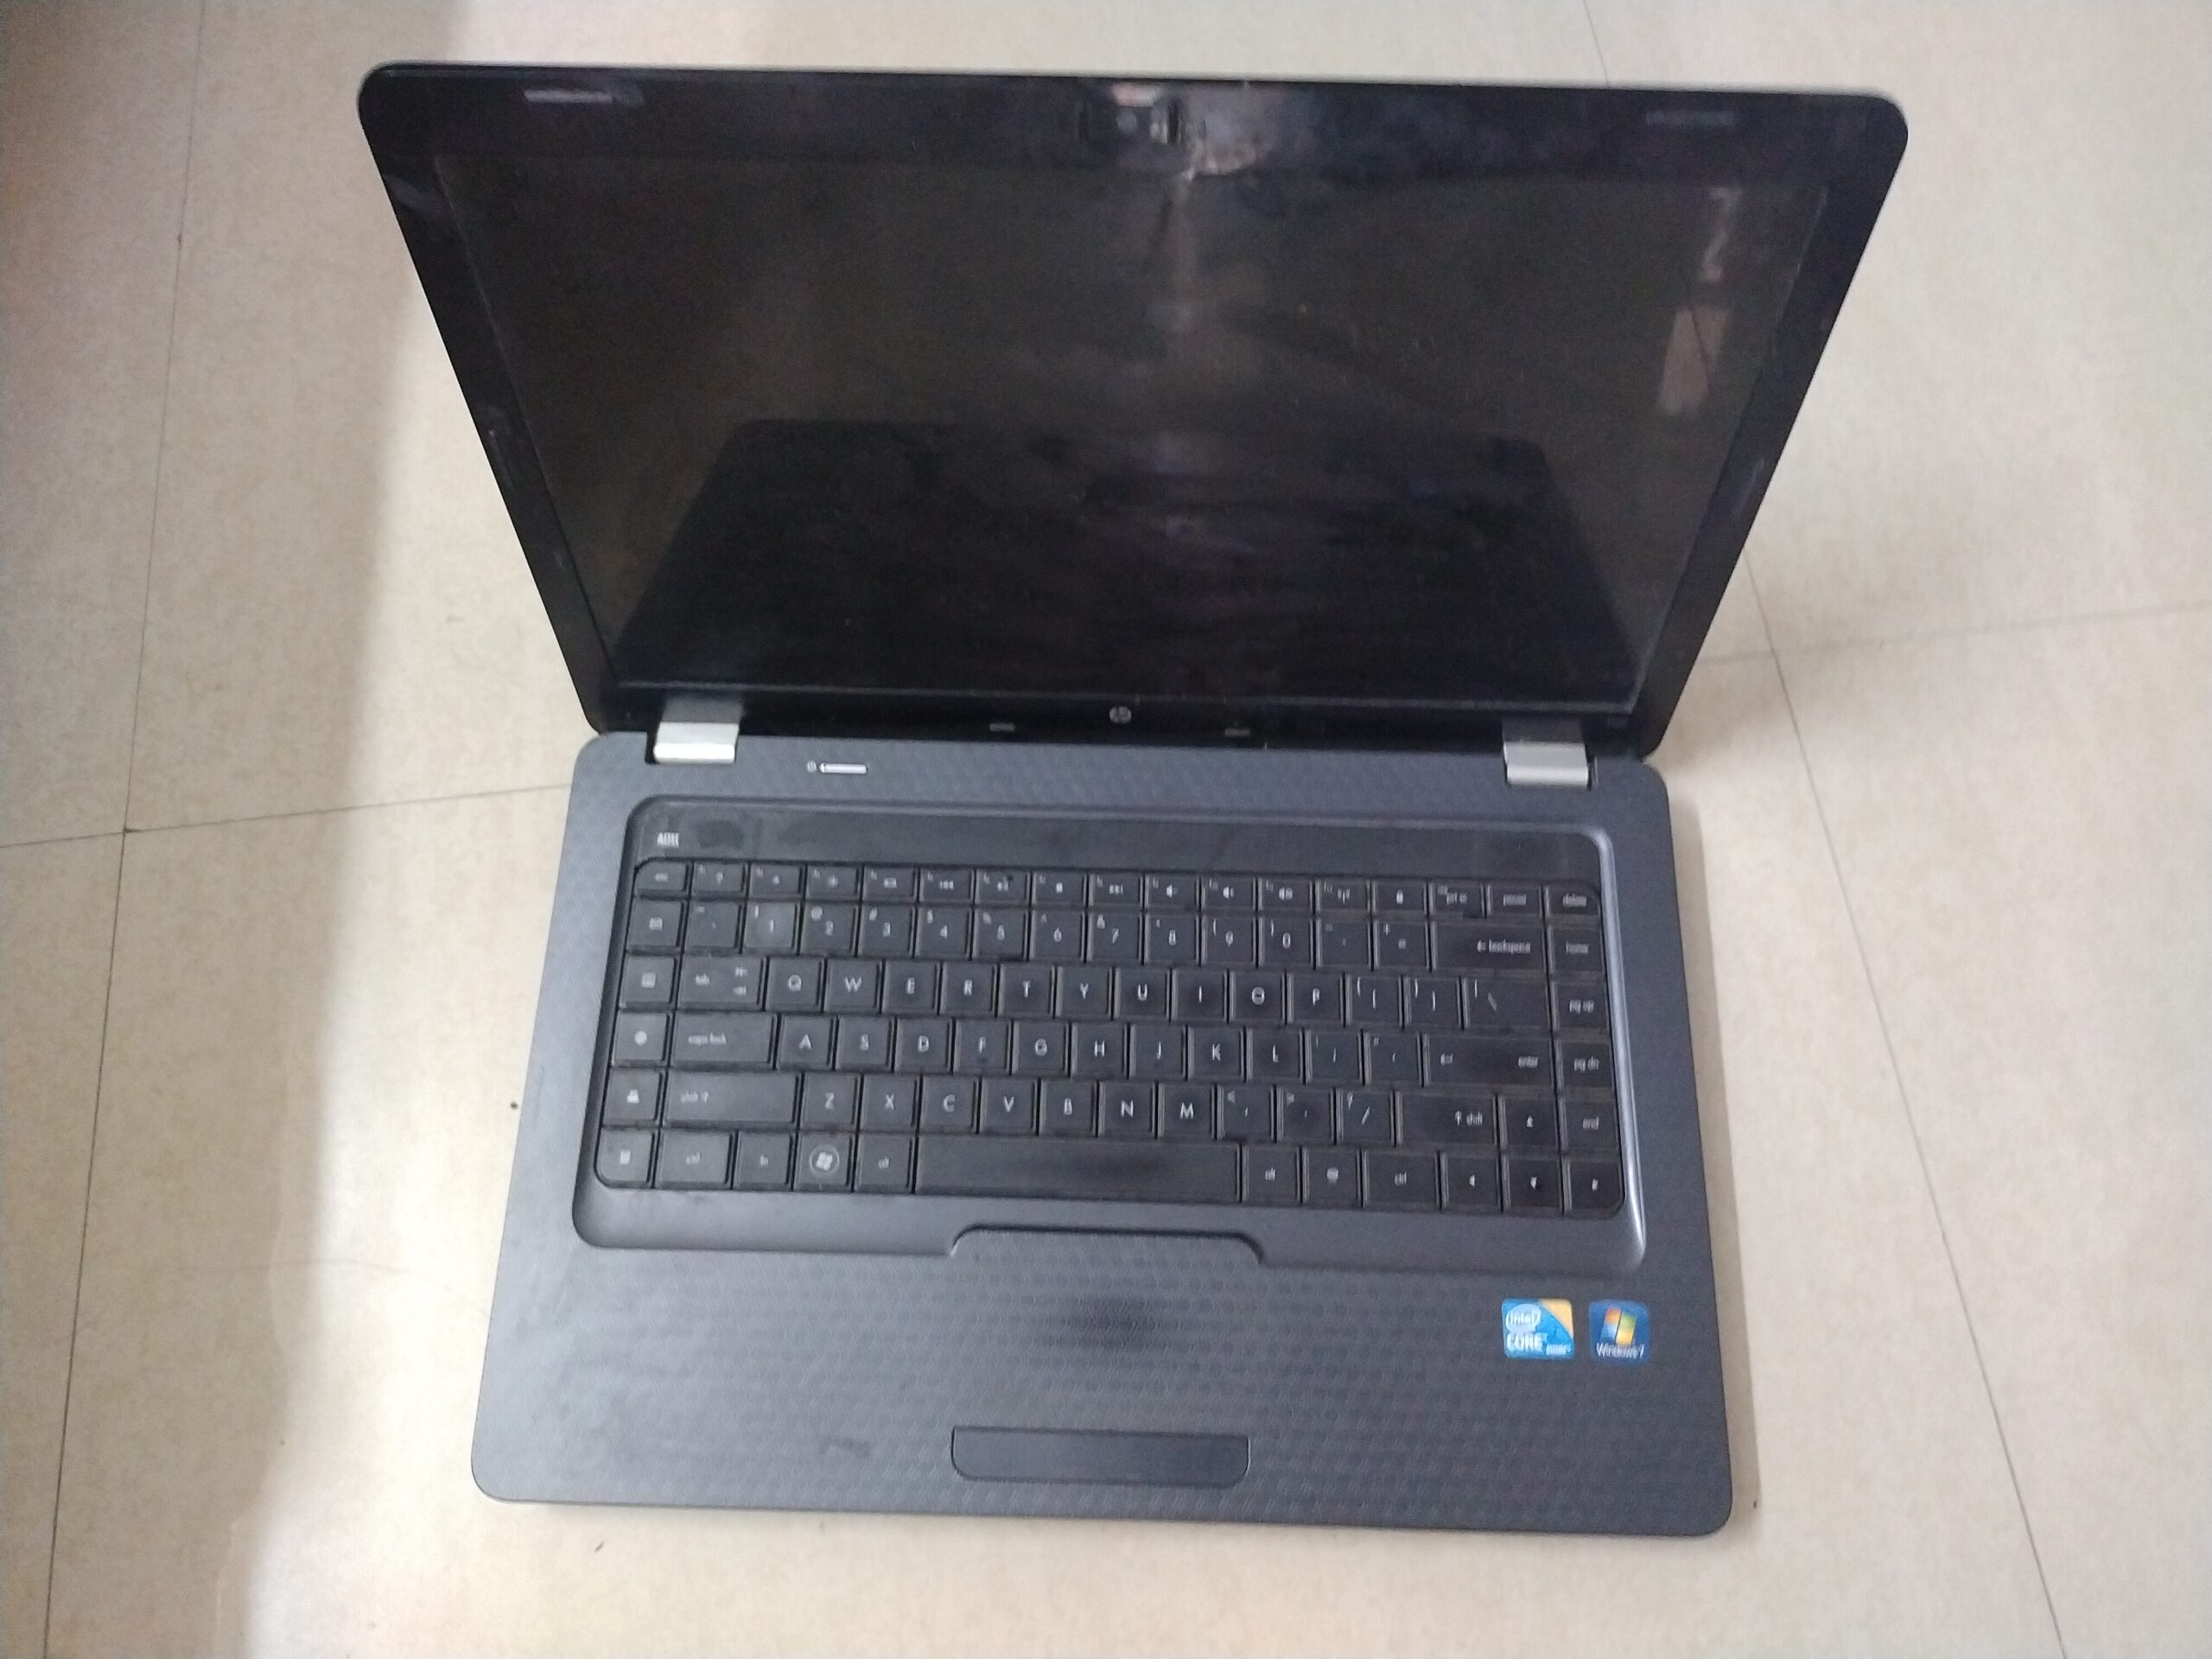
- If you want full screen press the “PrtScn” (Print Screen) key on your keyboard. This captures the entire screen and copies it to your clipboard.
- If you want only active window, press “Alt + PrtScn.”
- To capture a specific area of the screen, press “Windows + Shift + S” to open the Snipping Tool or “Snip & Sketch” on newer versions. Then, select the area you want to capture.
- To Save the Screenshot, Open an image editing application (like Ms Paint), press “Ctrl + V” to paste the screenshot from your clipboard, and then save the image.
Easy steps to take screenshot in MacBook
- If you want full screen, Press “Shift + Command + 3.” This captures the entire screen and saves it to your desktop.
- To capture specific area of the screen, Press “Shift + Command + 4,” then drag to select the area you want to capture. The screenshot gets saved to your desktop automatically.
- To capture a specific window, Press “Shift + Command + 4,” then press “Spacebar,” and click on the window you want to capture. It saves as an image on your desktop.
Steps to take screenshot on Linux (Ubuntu, for example)
- To capture full screen, Press “PrtScn.” This captures the entire screen and usually saves it to your “Pictures” folder.
- To capture specific area, Press “Shift + PrtScn” or “Ctrl + Shift + PrtScn” (depending on your Linux distribution). Then select the area to capture. It’s typically saved in the “Pictures” folder.
Note: The exact key combinations and screenshot tools may vary depending on your laptop/computer brand and operating system version.


